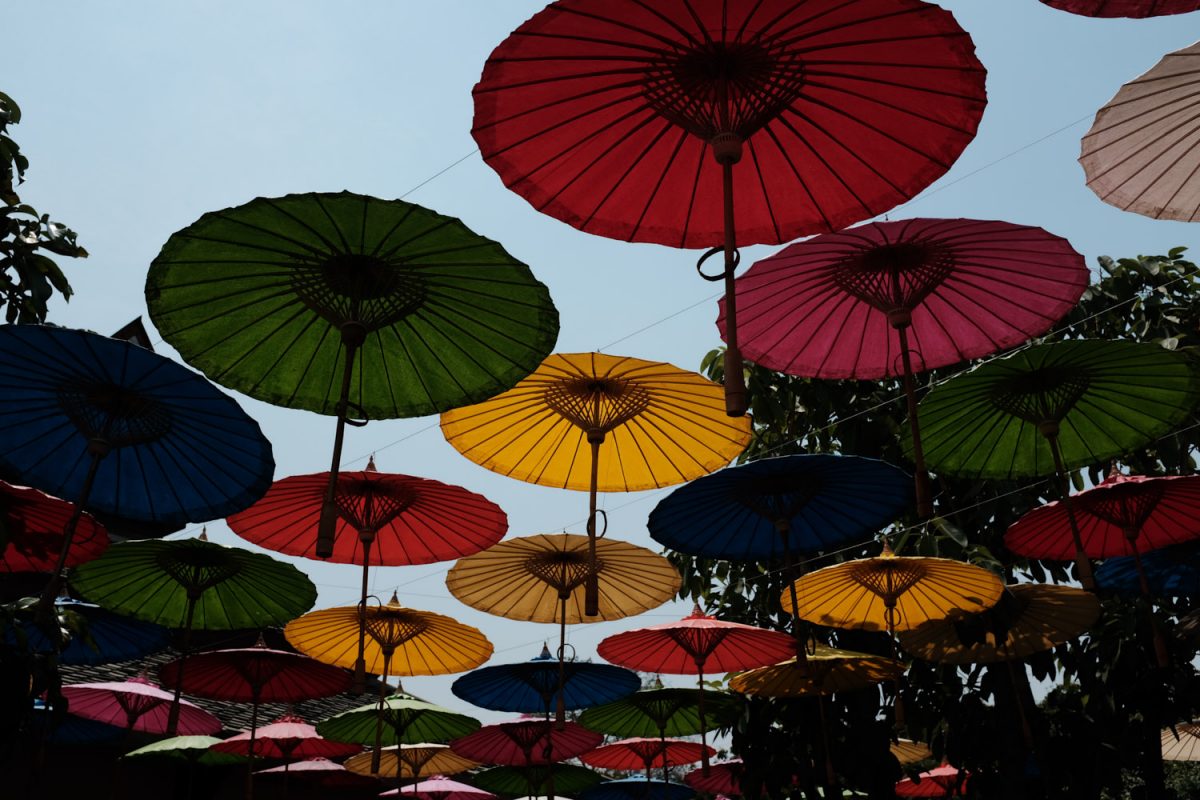
Having been to Chiang Mai a few times, albeit more than 20 years ago, I decided not to bring my full kit, which these days is the X-T3, 18-55mm, 55-200mm, 56mm, 16mm and perhaps the Voigtlander 40mm. More and more I just take along the X-100F and something else small. In this case, I bought along the Insta360 One X and learnt a few lessons about that which I wished I’d known before. On the elephant trek, (read about that here) I took that and put the dive case on it. Big mistake that as you can see the casing in most views. I guess it’s called a dive case for a reason. Anyway to get the shots I wanted, you really need to mount it like a normal camera and have it turned toward you.
The other major thing about this 360 Camera is that it takes 5.7K, so you can get HD when deciding what view to pick. This sounds great but in reality, you are going to need a seriously powerful machine to edit these videos in post. And I’m not even talking about serious edits. Just playing back large files (larger than 30 seconds) is painfully slow and laggy and almost impossible and I’m on a 2018 Surface Book 2 with 16GB Ram and a Core i7, not the most powerful machine in the world but no slouch and more than the vast majority of average consumers have. I’ll post a review of the Insta360 One X soon, but what I learned, and I really know better than this, is that you never take a new piece of kit with you without full testing and using it first.
If I was going back, no need to take serious kit, I’d still take my Fuji X100F, maybe a film camera and the Insta360 One X, which after another holiday with, I now know how to use and when to use it much more effectively.


